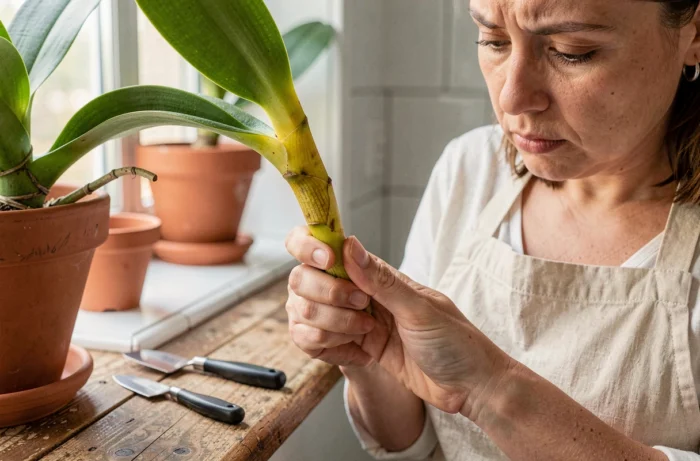
An orchid stem turning yellow often triggers concern. However, the phenomenon reflects very different realities depending on the affected area, the speed of yellowing, and the condition of the roots. Understanding what is happening beneath the surface of the substrate allows for distinguishing a natural cycle from a problem that requires prompt action.
Flowering stem or central stem: the diagnosis is not approached the same way
The confusion between flowering spike and vegetative stem arises in the majority of discussions among growers. Deciding between the two directs the entire subsequent care process.
| Affected Area | Most Common Cause | Severity | Recommended Action |
|---|---|---|---|
| Flowering spike (stem bearing the flowers) | Normal end of flowering | Low | Cut above the third node or at the base |
| New central leaves | Heart rot (bacterial or fungal) | High | Isolate the plant, remove affected parts, treat |
| Base of the stem / collar | Excess water, stagnant water in the crown | High | Stop watering, inspect the roots, repot |
| Only lower leaves | Natural leaf renewal | None | Let the leaf detach on its own |
When yellowing affects only the spike after the last flowers have fallen, the plant is simply redirecting its resources to the roots and leaves. This process can take several weeks and requires no treatment.
In contrast, central leaves that soften and yellow signal a collar infection. This scenario requires quick action to prevent rot from reaching the heart of the plant.
To delve deeper into the topic, knowing what to do if my orchid stem turns yellow first involves this distinction between flowering spike and vegetative stem.
Orchid roots: the true indicator beneath visible yellowing
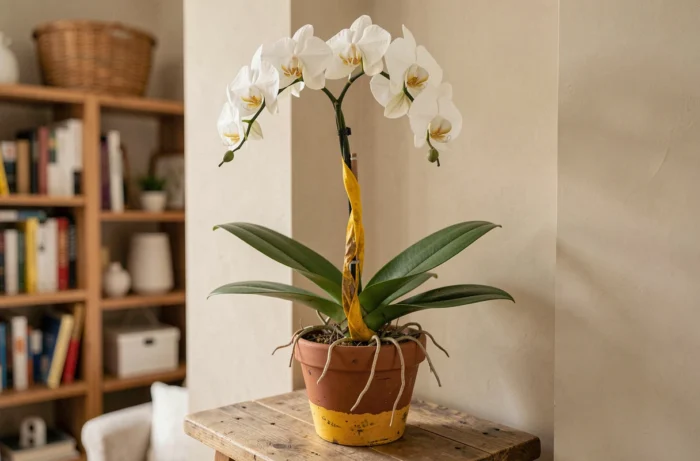
The common reflex is to examine the stem or leaves. However, the roots provide a more reliable diagnosis. An orchid with a yellowing stem may actually suffer from root rot masked by a substrate that is still moist on the surface.
Reading the color and texture of the roots
- Green and firm roots after watering, light gray-green when dry: the plant is healthy, and the yellowing of the spike is part of the normal cycle.
- Brown, soft, or hollow roots: chronic excess water or decomposed substrate, leading to yellowing that moves up to the stem and leaves.
- Dry and brittle roots despite regular watering: the substrate no longer retains water, the roots are no longer hydrated, and the plant sacrifices its aerial parts.
A Phalaenopsis grown in an opaque pot does not allow for this visual assessment. Switching to a transparent pot remains the simplest way to monitor root condition without repotting the plant.
Compacted substrate: an underestimated cause
The pine bark that makes up most orchid substrates degrades over time. After two to three years, it compacts, retains too much moisture, and deprives the roots of air. Repotting in fresh substrate with an appropriate bark size eliminates this cause of gradual yellowing.
Stagnant water in the crown: the trap of rapid yellowing
Water trapped in the folds of the central leaves is a major cause of accelerated yellowing, often confused with a simple excess of classic watering. The distinction matters, as the response differs.
Watering from above, especially at the end of the day when evaporation slows, leaves a film of water at the heart of the rosette. Within a few days, bacterial rot can establish itself in the crown and cause yellowing of the central leaves accompanied by a characteristic odor.
Soaking the pot by immersion for about fifteen minutes, then allowing it to drain completely, avoids this risk. If water reaches the crown, a rolled paper towel between the leaves is enough to absorb it before it stagnates.
Cutting the yellow orchid stem: when and how to intervene
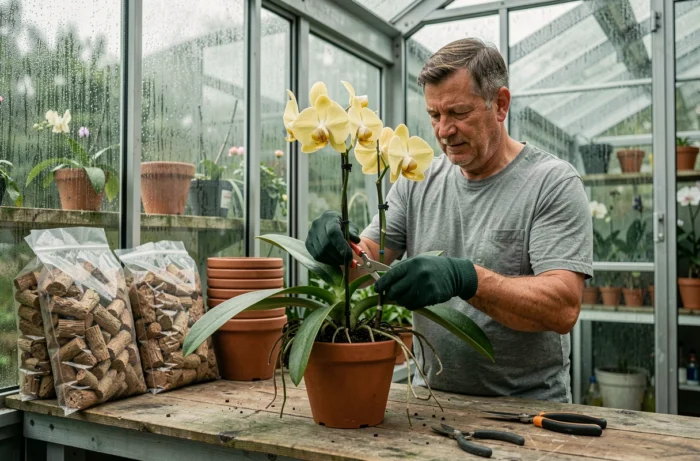
Pruning a yellowing flowering spike seems simple, but two common mistakes occur: cutting too early (the stem is still partially green and nourishing the plant) or neglecting tool hygiene.
The right time to prune
As long as the spike retains a green portion, it continues to transfer nutrients to the rest of the plant. Waiting for the yellowing to reach the base or for the stem to be completely dry ensures nothing is lost. On a Phalaenopsis, cutting above the third node can stimulate secondary branching, but the result depends on the plant’s vigor.
Sterilizing tools between each cut
Orchid viruses are transmitted through non-disinfected pruning tools. Wiping the pruner with isopropyl alcohol between each plant limits this risk. The flame of a lighter on the blade also works, provided it cools before cutting.
- Disinfect the pruner or blade before and after each cut.
- Use a well-sharpened tool to achieve a clean cut without crushing the tissues.
- Do not apply wax or healing putty: the wound dries better in open air in a ventilated environment.
Light, temperature, and fertilizer: three parameters that accelerate yellowing
A Phalaenopsis exposed to direct sunlight in summer suffers from leaf burns that manifest as localized yellow spots, different from the uniform yellowing related to watering. Bright but filtered light protects the leaves without hindering flowering.
Temperature fluctuations at night favor flowering, but repeated cold drafts can cause stress that accelerates the drying of the spike. Keeping the plant away from open windows in winter is enough to limit this factor.
Regarding fertilizer, an overly concentrated application burns the roots and triggers cascading yellowing. Diluting orchid fertilizer to half the recommended dose on the package and suspending any application during the resting period after flowering remains the safest practice.
The yellowing of an orchid stem rarely tells a single story. The flowering spike that dries after flowering requires only patience. The central leaves that soften demand an inspection of the roots and collar in the following days. Keeping a transparent pot, watering by soaking, and sterilizing tools cover most situations.