
The Medek air fryer appeals with its affordable price, but its control panel confuses many users right from the first startup. The symbols printed on the screen do not always match what one expects from an automatic program, and the manual provided with the device remains terse on the actual adjustments to be made according to the foods. This guide details the operating logic of the device to transition from abstract icons to concrete daily use.
Medek Symbols and Presets: What Each Icon Really Controls
The most common confusion among beginners concerns the predefined programs. The Menu (M) button scrolls through the presets, each associated with an icon (fries, chicken, fish, cake, depending on the model). These pictograms define a pre-recorded temperature-time pair.
In practice, these factory settings serve as a starting point, not a guarantee. Field feedback shows that the actual power of the device varies depending on the load in the basket and the ambient temperature of the kitchen. A “fries” preset at full load can yield a soggy result if the basket is overfilled, or too dry if the quantity is low.
To go beyond the pictograms, the Medek air fryer manual details each preset with the time-temperature pairs associated with the RA510DV and RA610DV models.
The table below translates the main symbols into usage logic according to the type of food:
| Food | Suggested Preset | Recommended Adjustment |
|---|---|---|
| Frozen fries | Fries icon | Shake the basket halfway through cooking, reduce time if small quantity |
| Chicken (pieces) | Chicken icon | Check cooking halfway through, extend if thick pieces |
| Fish (thin fillets) | Fish icon | Reduce temperature slightly to avoid drying out |
| Fresh vegetables | Manual mode | Medium temperature, short duration, monitor coloring |
| Baking / cake | Cake icon | Adapt the mold to the basket size, lower the temperature by a few degrees |
The manual mode remains the most reliable for foods that do not correspond to any pictogram. After pressing Menu, one adjusts the temperature and time using the dedicated icons, which gives total control over cooking.

First Start of the Air Fryer: The Empty Cycle Before Cooking
Several sources converge on a often overlooked point: run the device empty before first use. This preheating, done after an initial cleaning of the basket and the bowl with warm soapy water, serves to eliminate manufacturing residues (protective oils, packaging dust).
The procedure is simple. Assemble the basket in the bowl, turn on the device at a high temperature for about ten minutes, without food. A slight odor may be released, which is normal during this first cycle. After cooling, a second rinse of the basket is sufficient before proceeding to the first real cooking.
Skipping this step does not pose a major health risk, but the taste of the first dishes may be affected.
Manual Settings and Cooking Techniques: What Changes the Result
Video guides and user feedback identify three actions that transform the quality of the result, regardless of the Medek model used.
- Do not overload the basket: the circulation of hot air is the very principle of the fryer. Too many stacked foods block the flow and produce uneven cooking, soft on the inner layers.
- Shake or turn the food halfway through cooking: for fries, nuggets, or cut vegetables, opening the drawer halfway and stirring the contents ensures even coloring on all sides.
- Slightly reduce the temperature compared to classic recipes: the forced convection of the air fryer cooks faster than a traditional oven. Lowering by a few degrees or shortening the duration prevents burning the edges while the center finishes cooking.
The most useful reflex remains to check the cooking halfway through. Opening the drawer does not permanently interrupt the cycle on Medek models: the device resumes where it left off once the drawer is closed.
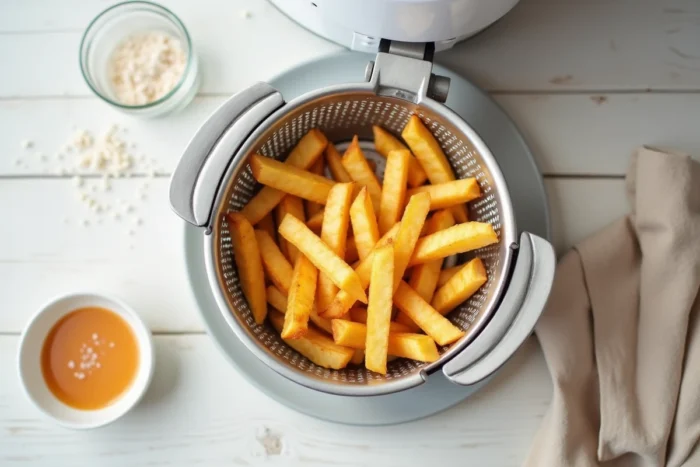
Maintenance of the Non-Stick Basket and Lifespan of the Device
The non-stick coating of the Medek basket facilitates daily cleaning, but it requires some precautions. Metal utensils scratch the surface and accelerate its degradation. A silicone or wooden spatula is sufficient to detach the food.
After each use, a wash with hot water and a soft sponge removes grease residues. The basket is not designed for the dishwasher on all models, so it is better to refer to the specific manual of your device. Stubborn deposits can be removed by soaking the basket for about fifteen minutes in soapy water.
The accumulation of burnt grease on the heating element is the main cause of smoke and unwanted odors in the medium term. A quick wipe with a damp sponge on the inside of the cavity (device turned off and cooled) after a few uses prevents this problem.
Maintenance Frequency According to Use
For daily use, a complete cleaning of the basket after each session and a wipe of the cavity two to three times a week is sufficient. For occasional use, cleaning after each use remains the rule, but the cavity requires less attention.
The Medek air fryer operates according to a more manual logic than it seems at first glance. The presets provide a base, the adjustments do the rest. Keeping the basket clean and not overloading it are the two factors that weigh the most on the quality of the results, much more than the choice of the “right” automatic program.