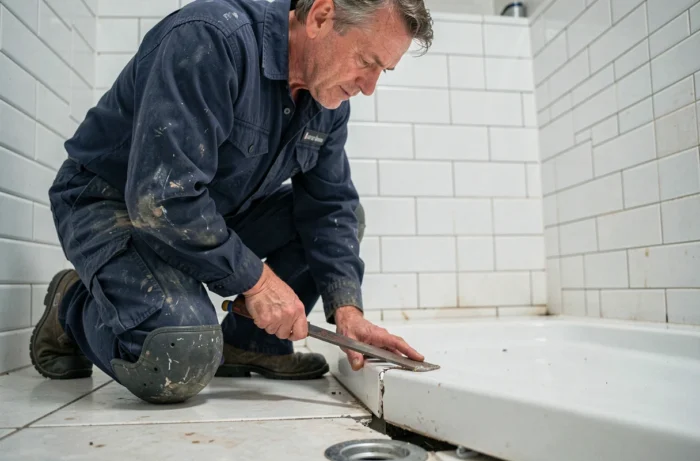
Removing a shower tray may seem straightforward on paper: turn off the water, remove the sealant, lift the tray. In practice, the installation method, waste connection and condition of the subfloor beneath the tray determine how difficult the job will be. Before reaching for a crowbar, it’s worth understanding the difference between a raised tray and one installed directly on the floor, as the removal method can vary considerably.
Raised, floor-mounted or ultra-low-profile: what changes when removing a shower tray
The removal technique depends directly on how the tray was originally installed. A tray mounted on adjustable feet or a frame can be detached more quickly than one bonded with mortar. The table below summarizes the practical differences.
| Type of tray | Typical fixing method | Access to the waste | Removal difficulty |
|---|---|---|---|
| Raised (feet or frame) | Adjustable feet, side screws | Access panel or removable apron | Low to moderate |
| Floor-mounted (mortar or adhesive) | Mortar bed or tile adhesive | No access panel; waste accessible only from above | Moderate to high |
| Recessed ultra-low-profile | Set into the screed, bonded in place | Trap often beneath the slab | High (risk of damaging tiles) |
A raised shower tray almost always provides side or underside access. Removing the apron or access panel is usually enough to reach the waste and trap. With a tray bonded with mortar, removal means breaking the seal, which takes more force and increases the risk of chipping the surrounding tiles.
A recessed ultra-low-profile tray is the most challenging type to remove. There is little clearance beneath it, and the trap may sit below the level of the screed. Checking this space before you start can prevent you from discovering too late that a new tray cannot connect to the existing pipework.
Several guides explain how to remove a shower tray easily, covering each installation type in detail to help you identify the exact setup before starting work.
Disconnecting the waste and drain: a common sticking point
Most problems occur where the shower tray connects to the drainage system. On some models, the waste cover has no visible screws. This is common with rotary plug wastes and clip-in systems, which are removed by turning the cover counterclockwise by hand or with adjustable pliers protected by a cloth.
Standard screw-in waste or clip-in waste
For a screw-in waste, an adjustable wrench or waste wrench (cross-shaped tool) can be used to detach the waste body from the tray. If the threads are seized, applying penetrating oil for a few minutes is usually enough to loosen the assembly.
For a clip-in waste, pull the cover upward after releasing the retaining clips. If there is no access panel underneath, the only way to disconnect the drain is to lift the tray after cutting the perimeter seals, then pull the flexible pipe off the trap.
No access panel
Older homes often have no access panel. The Plombiers Réunis forum documents this situation: the installer must cut the silicone seal all the way around, gradually lift the tray to free it, then reach the trap from above once the tray has been removed. Sliding a thin crowbar under the edge makes it easier to lift the tray without cracking the adjacent tiles.
Hidden risks beneath the shower tray: asbestos and a damaged subfloor
Removing a shower tray in a home built before the late 1990s may expose materials containing asbestos. Floor tiles, some leveling compounds and older adhesives may contain it. An asbestos survey carried out during a property sale may not cover the specific area where work is planned. Checking for an asbestos survey appropriate to the scope of the work is the most reliable precaution before breaking or sanding anything.
Aside from asbestos, removal can reveal a subfloor in poor condition. A moisture-swollen board, a stained floor or crumbling leveling compound can indicate an old leak. Covering this damage with a new tray without addressing the cause would be a mistake: a sound subfloor is essential to the waterproofing and longevity of the new installation.
Tools and precautions for removing a shower tray without causing damage
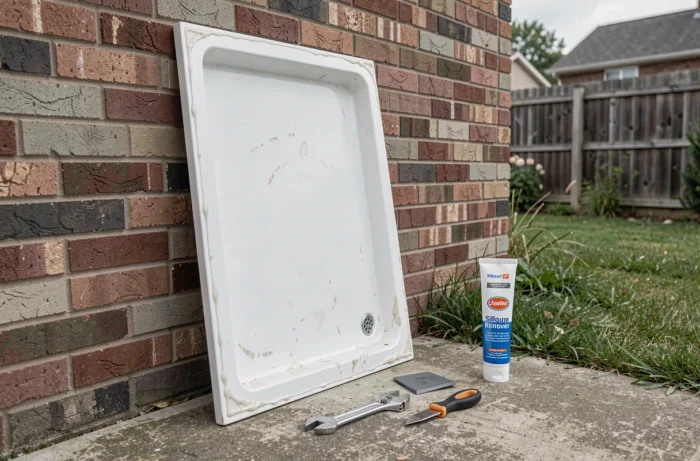
You won’t need many tools, but each one has a specific purpose. Using the wrong technique at the wrong time can crack a tile or damage a pipe.
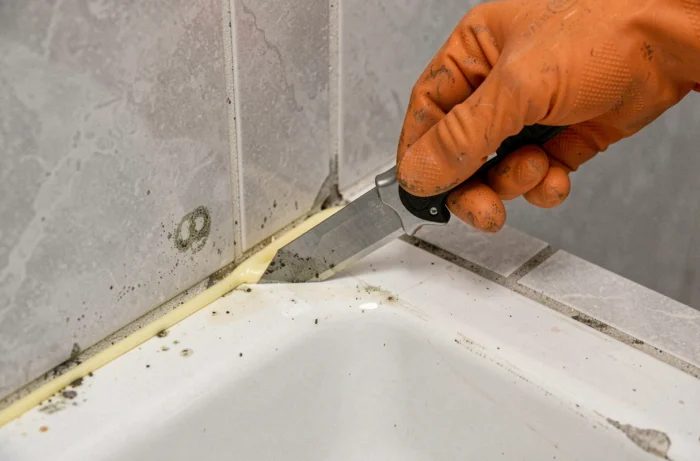
- Utility knife or retractable-blade knife: to cut through the silicone seal all the way around the tray. Keep the blade flat against the wall to avoid scratching the wall tiles.
- Thin crowbar or rigid putty knife: slide it under the edge of the tray to loosen it gradually. Use a series of small lifts rather than forcing it from one side.
- Adjustable pliers or waste wrench: to unscrew the waste body. Protect the chrome finish with a cloth if you plan to reuse the tray.
- Penetrating oil: apply it to seized threads and leave it to work for several minutes before applying force.
- Bucket and mop: turning off the water supply won’t empty the trap. Residual water will always drain out when you disconnect it.
Before starting any removal work, first turn off the water supply to the bathroom, not just the shower tap. Then open the mixer tap to release any remaining pressure in the pipes.
Protecting the tiles while lifting the tray
Place wooden or rubber shims between the crowbar and the floor to prevent chips. On fragile tiles (terracotta or older glazed stoneware), a small piece of plywood helps distribute the pressure and prevents direct contact points.
Disposing of waste after removing a shower tray
A shower tray made of stoneware, ceramic or resin should not be thrown into a general waste skip. These materials are classified as inert construction waste and must be taken to a recycling center or collected by a waste contractor. Planning for disposal at the start of the project avoids being left with a bulky tray and no way to get rid of it.
Silicone, adhesive and mortar residue removed during the job should be sorted separately. Set aside a rubble bag for leftover bedding and fixing materials to make the final cleanup and trip to the recycling center easier.
Removing a shower tray comes down to three factors: how it is fixed in place, access to the waste and the condition of the subfloor. Identifying these three things before touching any sealant helps you choose the right method and avoid unpleasant surprises once the tray is lifted.